Raspberry pi
Until a few years ago the Raspberry Pi was not powerful enough to show Online MonitorsAnyWhere content properly. With the 4th generation of this device the Pi became usable as a player for Online MonitorsAnyWhere. We advise you to use the Raspberry Pi 4 model B with 4GB or 8GB of memory (the 8GB memory is only useful if you use a 64 bit version of the operating system). Any other model should be avoided or used for static content only. We further advise to connect the Raspberry Pi to only one monitor/TV with a 1080p resolution even though it is advertised to be able to connect to two 4K monitors.
Introduction
This article assumes you can assemble a Raspberry Pi into one of the available cases and create an SD card to be used in the Raspberry Pi. If you feel these concepts are "not for you" you should probably have a look at using a Chromebox or one of the other player options that can be used with Online MonitorsAnyWhere.
To use a Raspberry Pi as a player for Online MonitorsAnyWhere you need; a Raspberry Pi 5 or a Raspberry Pi 4 (model B with 4GB or 8GB of memory), a power supply that is as powerful as this model of the Raspberry Pi foundation (if the power supply cannot deliver the power that de Pi needs the Pi will shutdown unexpectedly), a mini-HDMI to HDMI cable, a case that preferably cools the CPU passively and a micro SD card of at least 16GB. It is important that the CPU/GPU is cooled to get the best performance out of the device. However fans should be avoided since they are very small and can easily get clogged up with dust when the device is mounted behind a TV.
Installation
There are two options install the Raspberry Pi as a player. We advise using the first method using our ready-made SD-image that is based on Raspberry PiOS (also called raspios and was previously known as Raspbian). The second - DIY method - takes longer, requires knowledge of Linux and will likely not result in a better-performing device.
If you want to create an operating system image to more efficiently deploy players then please read our article specifically about this subject
To perform all steps on this page you will need, apart from the Raspberry Pi: a keyboard, a mouse, a PC or laptop that has an SD card reader (or a separate USB SD card reader that you connect to your computer).
For both options, you must assemble the Pi into the case and connect it to the TV/monitor, the network cable and the power supply. Leave the device off (by not plugging the power supply into the mains) until the instructions tell you to turn it on. Since there is no power button on the Pi you turn it on and off by connecting and disconnecting the power supply. If the Pi needs to use a WiFi network or you want to use the DIY method you will need to connect a mouse and keyboard to the Pi.
For both options, it is necessary to have software on your PC/laptop that can write an image file to an SD card. If you do not already have software that can do this please install the application that the Raspberry Foundation offers on their site for this purpose. You can download versions for Windows, MacOS and Debian or Ubuntu Linux. Using the cross-platform Etcher application is also possible.
Setting up a Raspberry Pi using our image
To set up your Raspberry Pi (this option will only work for the Raspberry Pi 4) using the image we provide follow these steps:
- Download one of our images:
- for a Raspberry Pi 5:
- our 64 bit Raspberry Pi OS zipped image file a good performing solution usable with a Pi5 housed in all types of cases (Pi5 housings always need to cool, the housing of the Raspberry Pi Foundation contains a fan, its better to use a passive cooling housing; the Flirc or Joy-IT)
- for a Raspberry Pi 4B:
- our 64 bit Raspberry Pi OS zipped image file a good performing solution usable with a Pi4B housed in all types of cases
- our overclocked 64 bit Raspberry Pi OS zipped image file the best performing solution ONLY to be used with a Pi4B in a cooling case such as the Flirc or Joy-IT
- our older 32bit Raspberry Pi OS zipped image file for if you need that
- for a Raspberry Pi 5:
- Unzip the file; you get the image file
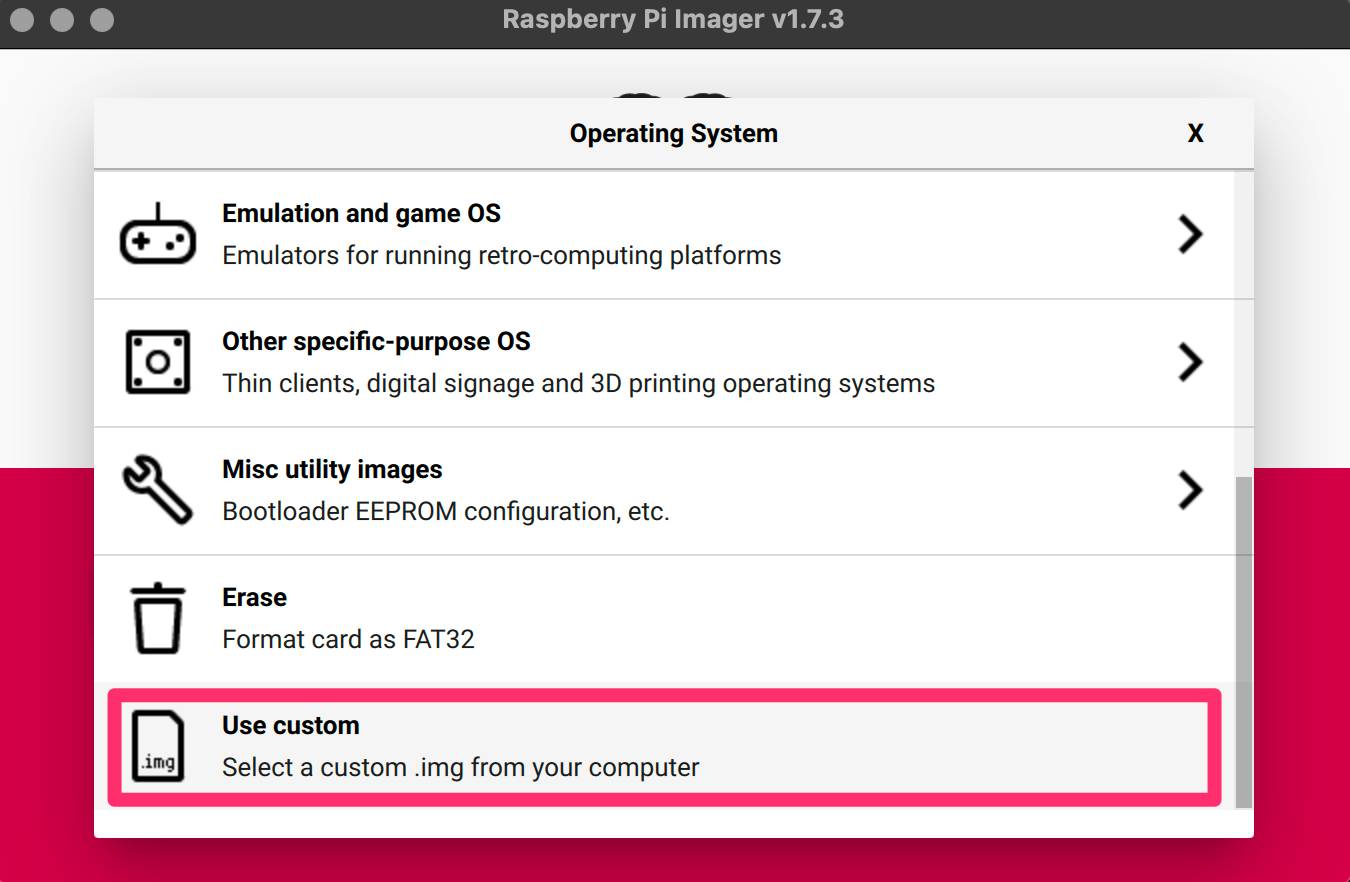
- Use the imager software (see paragraph above) to put the image file on a micro SD card. For this, you need to click on the CHOOSE OS button, scroll down, select use custom and select the image file you just downloaded. Select the SD card by clicking the CHOOSE STORAGE button. Writing the image to the SD card starts when you click the WRITE button.
- Put the SD card in the Pi and turn on the Pi
- When you see the black screen showing the registration code use that to register the player in the Settings screen on Online MonitorsAnyWhere as described on this page
You are done.
Connecting to WiFi
If you want to use WiFi on your Raspberry Pi you can but we strongly advise you to use a wired network if at all possible. A wired network connection is far more reliable and will therefore result in more stable playback of content. To connect to a WiFi network:
- You want to make sure you started the Raspberry Pi with a keyboard and mouse connected, if you did not, simply turn off the Pi, connect the devices and turn it back on
- Stop the registration code page by pressing the Ctrl-W keys
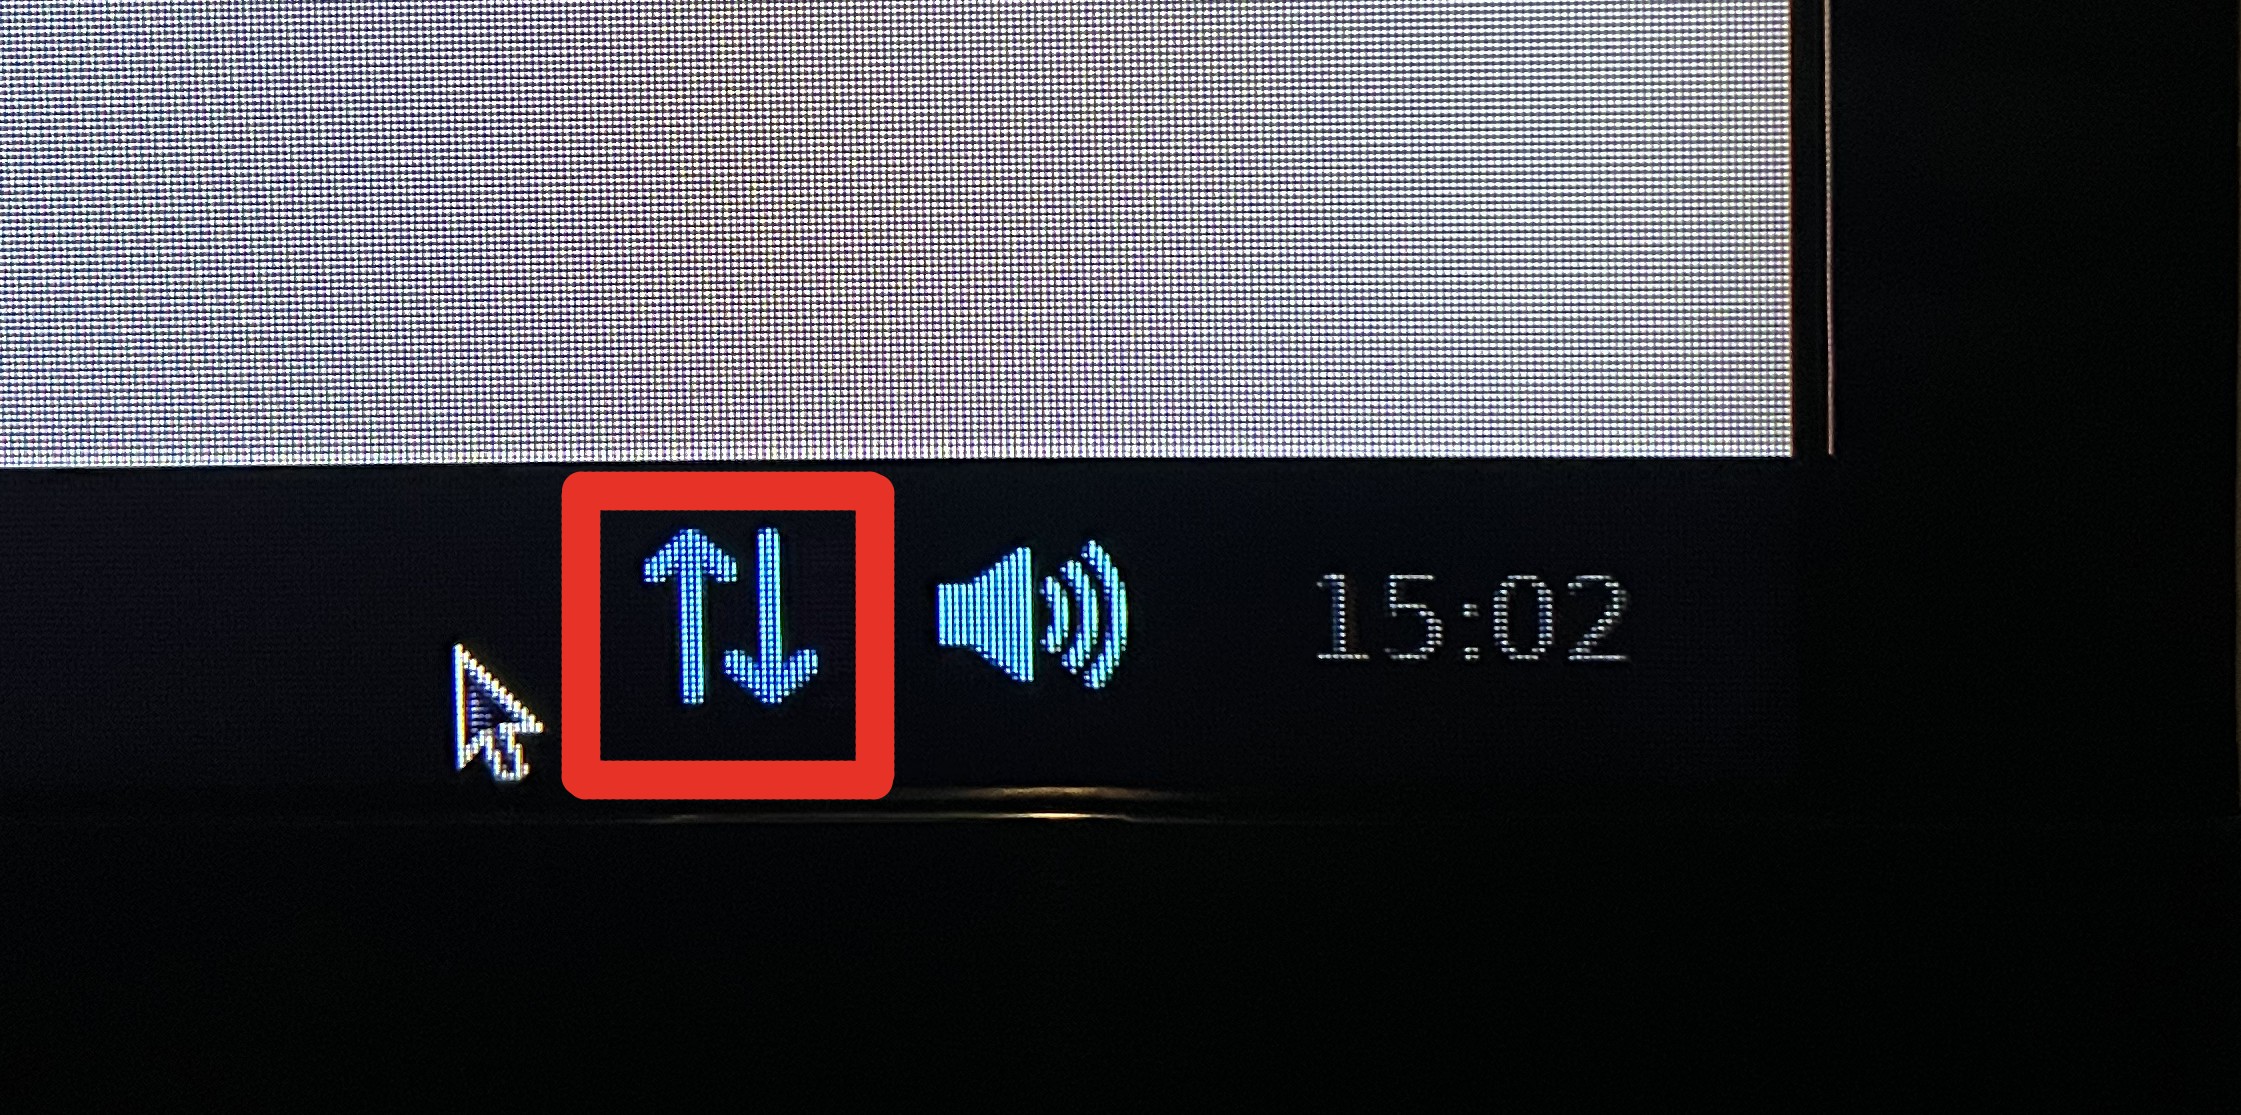
- Click on the WiFi icon in the bar at the bottom of the screen
- Select the name of the WiFi you want to use and enter the password if necessary
- Restart the Raspberry Pi by turning it off (disconnect the power supply), removing the keyboard and mouse and turning the Pi back on.
Automatic shutdown and startup
The Raspberry Pi can be automatically shutdown using a cron job:
- You want to make sure you started the Raspberry Pi with a keyboard and mouse connected, if you did not, simply turn off the Pi, connect the devices and turn it back on
- Stop the content page by pressing the Ctrl-W keys
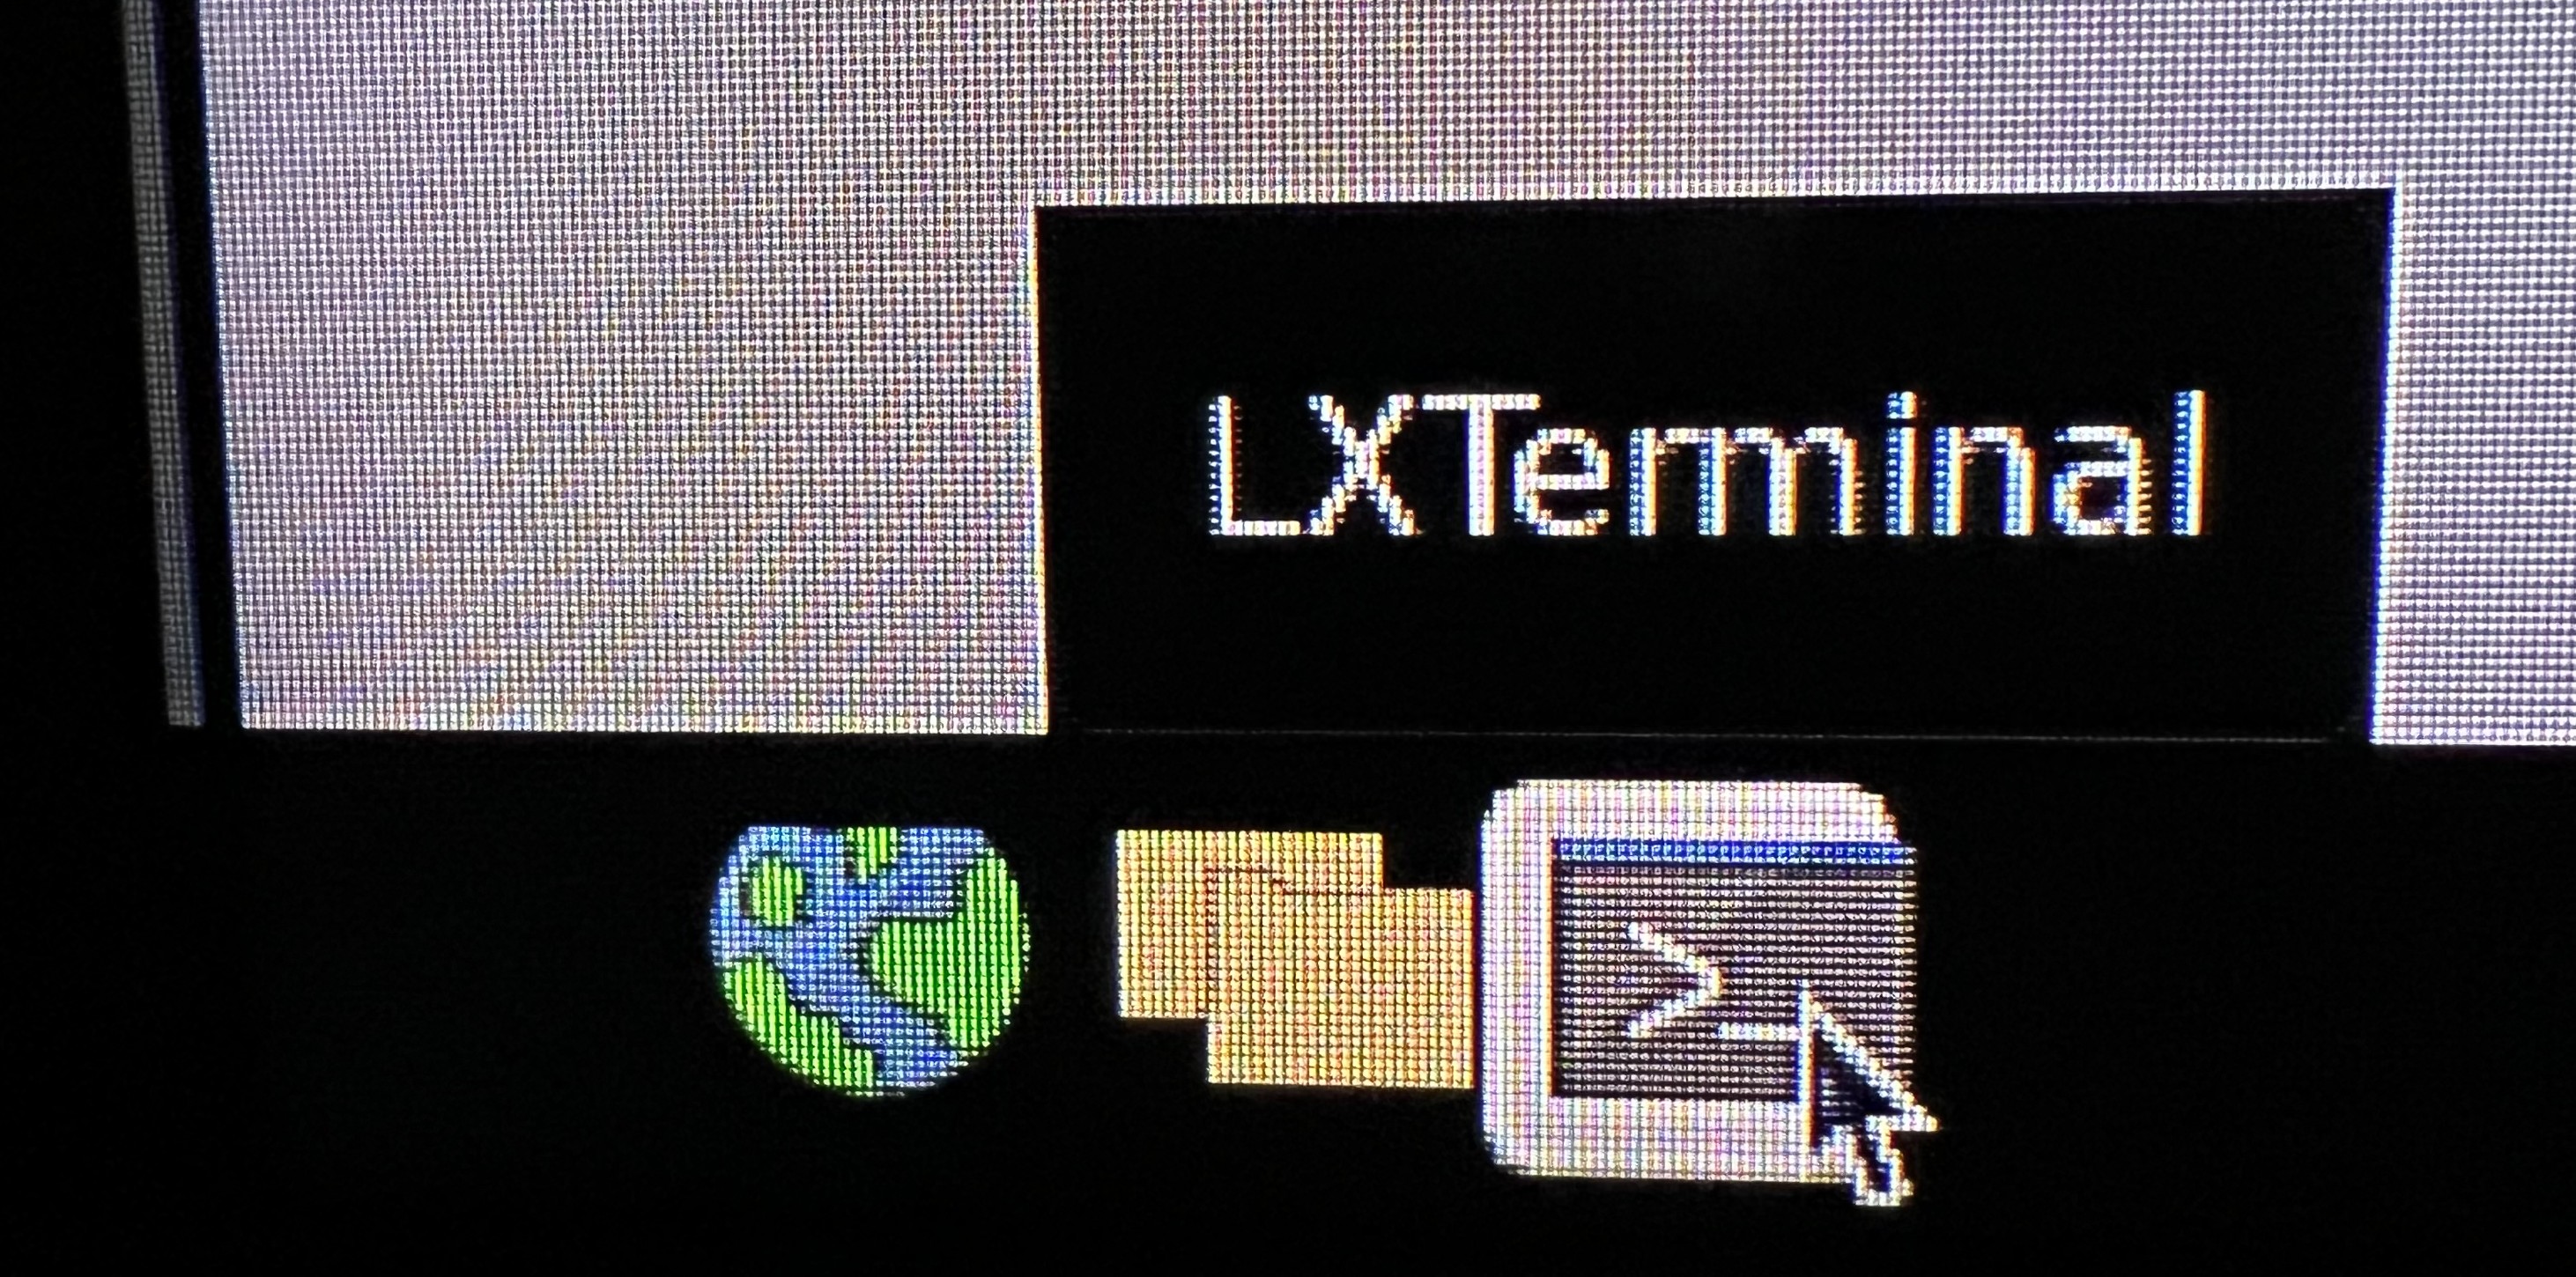
- Open a terminal by clicking on the terminal icon in the bottom bar
- Type
crontab -eand have it open a text editor of your choice. - Add the following new line to the end of the file:
and save the file. This instruction will shut down the Pi at 19:30 (7:30 PM). Change the 19 for a different hour (24-hour notation) and the 30 for different minutes (0 to 59).30 19 * * * sudo shutdown -P now - From now on the computer will shut down at the set time every day.
The most basic way to turn the Pi on is to use a timer switch.
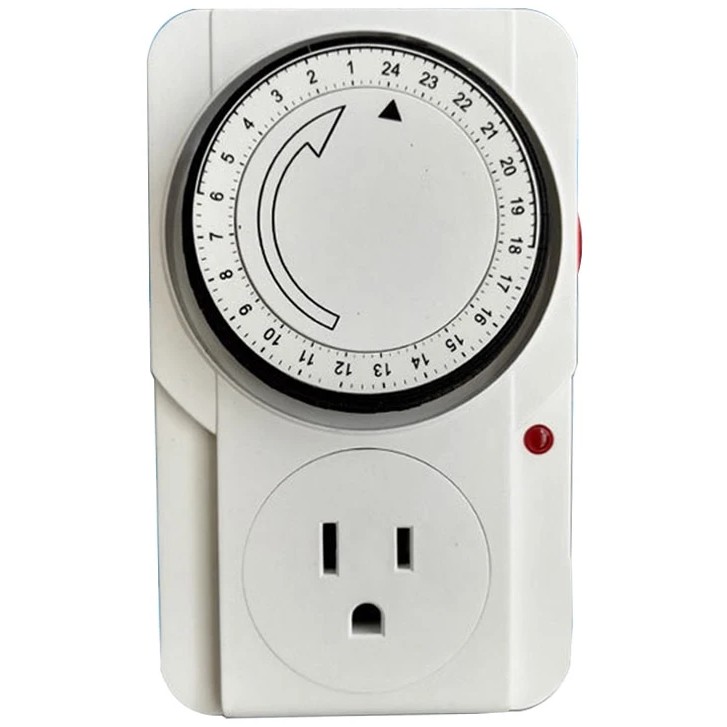
Please Note: when using a timer switch you should make the switch power off the Pi after the cron job has done the shut down of the Pi, to prevent corruption of the data on the SD card that can occur when removing power from a running system.
An alternative for the cron job and timer switch is using additional hardware such as the Witty Pi by UUGear. Please follow the instructions of the manufacturer of the hardware solution to achieve the required results.
Updating the OS
To ensure the best security and performance for your Raspberry Pi we advise you to regularly install updates to the Raspberry Pi OS and the installed software. The easiest way to do that is to download our image file and put it onto the SD card for the Pi. We regularly create new images using the latest packages and drivers for Raspberry PiOS.
Alternatively, you can:
- Make sure you started the Raspberry Pi with a keyboard and mouse connected, if you did not, simply turn off the Pi, connect the devices and turn it back on
- Stop the content page by pressing the Ctrl-W keys
- Open a terminal by clicking on the terminal icon in the bottom bar
- Type:
$ sudo apt update
$ sudo apt full-upgrade
This will download and install the latest packages and drivers directly onto the Raspberry Pi.
Setting up a Raspberry Pi the DIY way
We advise using Raspberry PiOS (raspios) as the preferred Linux distro for the Pi since that has the best CPU/GPU drivers and uses specific optimisation on Chromium. Ubuntu Mate is also a performant alternative. If you want to use a different distro:
- Check for kernel greater than 5.4 and drivers for the specific GPU used in the Pi
- Try different browsers to make sure you find the best-performing one for your distro on your Pi
Follow the steps described in our Linux how to